How to Create a Welcome Automation for Your New Email Subscribers


This post contains affiliate links, through which we may earn a small commission if you choose to purchase, at no additional cost to you. We only share products or services we personally use & recommend!
One of the most important features of your health coaching website, particularly if you’re a new health coach just starting your business, is to grow an email list of interested subscribers—people you can maintain contact with to build relationships and rapport and promote your health coaching services (and/or other passive income wellness products!) down the road.
The best email marketing tools for health coaches
While there are many great email marketing tools available to choose from, there are two I tend to recommend most often to health coaches and wellness professionals: Mailchimp and Flodesk.


Mailchimp is a popular option, and the email marketing tool we used for years (though not the one we use currently, more on that in a moment). Here’s why Mailchimp is great for health coaches:
It integrates seamlessly with your Squarespace website (which, as you know, I also highly recommend!), allowing you to easily collect email addresses on your website and send them directly into your Mailchimp list(s).
Its simple drag-and-drop editing interface is easy to learn and use.
It offers a wide range of email templates that can be branded to match your business’ needs and create a seamless user experience.
It offers a free plan for your first 2,000 subscribers (woohoo!).
For our own email marketing, we use (and love!) Flodesk. Though it doesn’t have those same built-in integrations with Squarespace that Mailchimp has, here’s why it’s our favorite email marketing tool of them all:
Flodesk is, hands-down, the simplest, cleanest and easiest-to-use email marketing tool out there. Its dashboard is super minimalist, contains all it needs (and nothing more!), which makes it really easy to navigate and efficient to use.
It’s affordable and the pricing is simple. Unlike other tools that charge per subscriber or email send, which increases your pricing over time (though Mailchimp starts off free, it does get expensive as your list grows), Flodesk has just one pricing plan that gives you unlimited subscribers and email sends—so the price doesn’t continue to increase forever and ever in the future. (And, right now, you can get 50% off your Flodesk subscription—and lock in that pricing not just the first month or year, but forever!!)
Flodesk’s email templates are super gorgeous, and you have the ability to use custom fonts (and even script handwriting fonts!), which is hard to come by in email marketing.
It’s really easy to set up and use workflow automations—things like your welcome automation or opt-in funnels—to keep your list engaged.
The Flodesk sign-up forms allow you to collect an email address and first and/or last name. This is an improvement over the Squarespace + Mailchimp integration, which only allows you to collect a full name, but puts both the first and last name in one merge field, so it’s awkward to personalize your emails with “Hi First Name,” as that shows up as “Hi First Name Last Name.” Flodesk also makes it easier to personalize your emails with the subscriber’s name, which is a nice touch (and helps email deliverability… meaning, your emails are less likely to end up in the Spam folder!).
Why you need a welcome email for your health coaching business
When a new subscriber joins your email list, it’s helpful to send them an automated welcome email. The purpose of this email is to:
confirm their subscription
warmly welcome them to your wellness community
let them know what type of content they can anticipate receiving from you, and how frequently you’ll be sending it
provide examples of relevant content they may enjoy or may have missed (such as previous popular blog posts)
let them know what health coaching services or other wellness products you offer and how to access them
let them know how to get in touch with you (or engage with your business in additional ways if they’re interested)
further establish your brand personality
remind them what’s special about your list—what special content, resources or offers do they have access to that non-subscribers don’t?
… and why a welcome series is even better
As great as it is to have a welcome email for your new subscribers, it’s even better to provide them with an entire automated welcome series.
There are a few reasons sending a welcome series is better than one welcome email:
One email may get lost or remain unopened—and then your welcome message is not received.
You can drip content through a welcome series, providing more value while yet remaining focused in each email and not providing an overwhelming amount of content all at once. (Lots to cover in the wellness realm!)
You can catch people at different points in their relationship with your business—perhaps the first welcome email comes immediately after they subscribe, they get another a week into it, and another a month later.
How to build your health coach welcome automation
You can create a welcome automation in any email marketing tool you use. Here, we’ll walk through step-by-step instructions to create a branded welcome automation in either Mailchimp or Flodesk.
Both platforms have their own helpful documentation on creating an automated welcome email series, which are linked below for more fine-detail technical instructions. My notes here will focus more on the strategy recommendations behind each step of the process.
Official documentation:
How to set up a welcome automation in Mailchimp
How to set up a welcome automation in Flodesk
1. Set up your email marketing account
First thing’s first: create your email marketing account, whether you’re choosing to use Mailchimp, Flodesk, or something else. (If you’re undecided, my preference is Flodesk, and that’s what we use here!)
In email marketing it’s super important to comply with international anti-spam laws that require you to list certain information about your business in the footer of each email. Your email marketing tool will automatically populate your email footers with this information (nice of them!), so make sure it’s entered correctly in your account settings.
In Mailchimp, that’s found via Account > Settings > Contact Information.
In Flodesk, that’s found via Account > Branding > Company Address.
You’ll also want to be sure you authenticate your domain with your email marketing provider, which helps the deliverability of your emails (so they don’t end up flagged as spam!).
Here are instructions for authenticating your domain in Mailchimp.
In Flodesk, just head to Account > Domain setup and follow the prompts.
2. Connect your email marketing to your website opt-ins
In Mailchimp:
To maximize the benefits of pairing your Squarespace website and Mailchimp account, you’ll need to be using Squarespace’s Business plan or higher.
Connect your Mailchimp account to any newsletter block in Squarespace: in the newsletter block editor, head to Storage > Connect other services > Mailchimp. You’ll be prompted to log in to your Mailchimp account and select the audience you’d like to add your new subscribers to.
In Flodesk:
You’ll design your sign-up forms in Flodesk, where you can customize all the details of the information they’ll collect and how they’ll look) and then embed them on your website. This sounds more complicated than it is, and Flodesk has helpful step-by-step instructions for embedding your Flodesk opt-in form on your website.
Should you require double opt-in after subscribing?
Email marketing tools offer a double opt-in process asking subscribers to confirm their subscription to your mailing list before they’re officially added to your list. (This setting is enabled by default in Squarespace newsletter blocks, though you can uncheck it if you’d like.)
What’s the difference between single or double opt-in? The extra step in the process helps to confirm that people on your email list truly want to be there—essentially, they’ve opted in to your list twice. This can help prevent spam bots from signing up for your email list (meaning you could end up paying for subscribers who aren’t real people or potential customers), as well as reduce the number of people who unsubscribe or mark your emails as spam because they’re not interested in receiving your content.
That said, the double opt-in process does create an extra step in the process of subscribing to your list and some potential subscribers will inadvertently not complete the entire process and thus not be added to your list. (Shucks!)
I suggest aiming to use strategic opt-ins to target your ideal health coaching client/customer, and then forgo the double opt-in feature. This tends to make it easier for your target audience to subscribe, while avoiding attracting people who don’t ultimately want to be there.
3. Create a branded email template
It’s a great idea to use a branded email template for your welcome automation (and future email newsletters), as it helps maintain branded consistency across all your email marketing, and saves you time by not having to duplicate all the custom styling for each new email.
Here are my tips for designing a branded email template for your wellness emails.
In general, you’ll start with a template that catches your eye and works for your needs, and then customize that template to match your own branding and business needs. You’ll include in your email template things like:
your logo
your brand colors
photography or imagery that aligns with your brand
if applicable, social buttons to your social channels
placeholder text for different parts of your email, like an intro/welcome message
a section highlighting other relevant content (like blog posts or wellness products)
Once your template is designed, we’ll come back to it in a later step to customize the template for different emails in your welcome automation.
4. Create your email automation series
The process for setting up an automation (the trigger that automatically sends your welcome email to new subscribers upon their enrollment) differs depending on which email marketing tool you use.
In Mailchimp:
In Mailchimp, head to Campaigns and click Create Campaign. You’ll select Automated Email > Welcome New Subscribers > Onboarding Series. Name your campaign and select the list you’d like it to send to.

Your automation dashboard provides information on each email in the series.
For an onboarding series, the trigger for the first email is automatically set to “immediately after contacts subscribe to your email marketing.” You can keep this trigger as is, unless your business needs require some type of delay for sending your first welcome message, in which case you’ll want to adjust it accordingly.

For the first email in your series, click Design Email. When prompted, you’ll provide some information about this specific email in the series.
Here are a few tips for designing each email in your automated series:
Name your email: This is an internal name only, so choose a name that will help you understand the content and purpose of each specific email—for example, something along the lines of “Welcome Email #1” would work well.
Email subject: This is the subject line your subscribers will see. You want your subject line to be descriptive of your email content, and compelling enough that subscribers will want to open it—yet also not so descriptive it gives away the juicy content of your email. It’s best to keep your subject line under 9 words.
From name: This will be the sender name displayed to your subscribers. Choose something they’ll recognize, like your name or your company name. Some people choose to personalize their message with a from name such as “Melissa from Four Wellness Co.” which includes both your name and the company name.
From email address: This is the email address your message will be sent from, so choose something that makes sense for the email’s purpose. Typically, for health coaches, your emails will be coming from you specifically, so it would be more personal to use yourname@yourwebsite.com rather than a more generic address like hello@yourwebsite.com.
Select a template: This is where we’ll call upon the branded template you created earlier. Find it under Saved templates.
Design your email: Here’s where you’ll customize your email content for each email in your series. When you’re finished, click Save and Continue.
Preview & test your email: As you finish up each email, it’s a good idea to send a live test of each message to yourself to confirm that everything is appearing as it should. Head to Preview and Test at the top of the page > Send a Test Email and enter your email address. Be sure to check the message on both desktop and mobile.
Set the trigger for each message: Set the Trigger for each message—typically for a welcome series, the trigger is a certain number of days (or weeks) after the previous message in the series was sent. While this is a great option to stick with, you can change your trigger to any other message trigger supported by Mailchimp. (Some options are: previous email opened, previous email not opened, tag added, etc.)
Move down the list, clicking Design Email for each separate email in your automation and adding specific content for each message.
The number of emails in your automation may vary depending on your business needs. If you have lots and lots of content and information to share with new subscribers, you may want to use 4-6 emails in your welcome series. If you prefer to keep it simple and stick to a welcome message plus a couple check-ins, you could stick to just one welcome email and a follow-up check-in email a week or so later. Your call.
You can always add or delete emails from your automation list as needed.
In Flodesk:
The process for creating a welcome automation is pretty similar in Flodesk. Head to your Workflows tab (“workflow” is synonymous with “automation” here) and click + New workflow.

You’ll then choose the type of workflow you’re creating (like a welcome sequence or lead magnet delivery)… though as these are just templates, they can all be updated as you’d like in a later step.
In your Workflow dashboard, you’ll update and customize your automation:
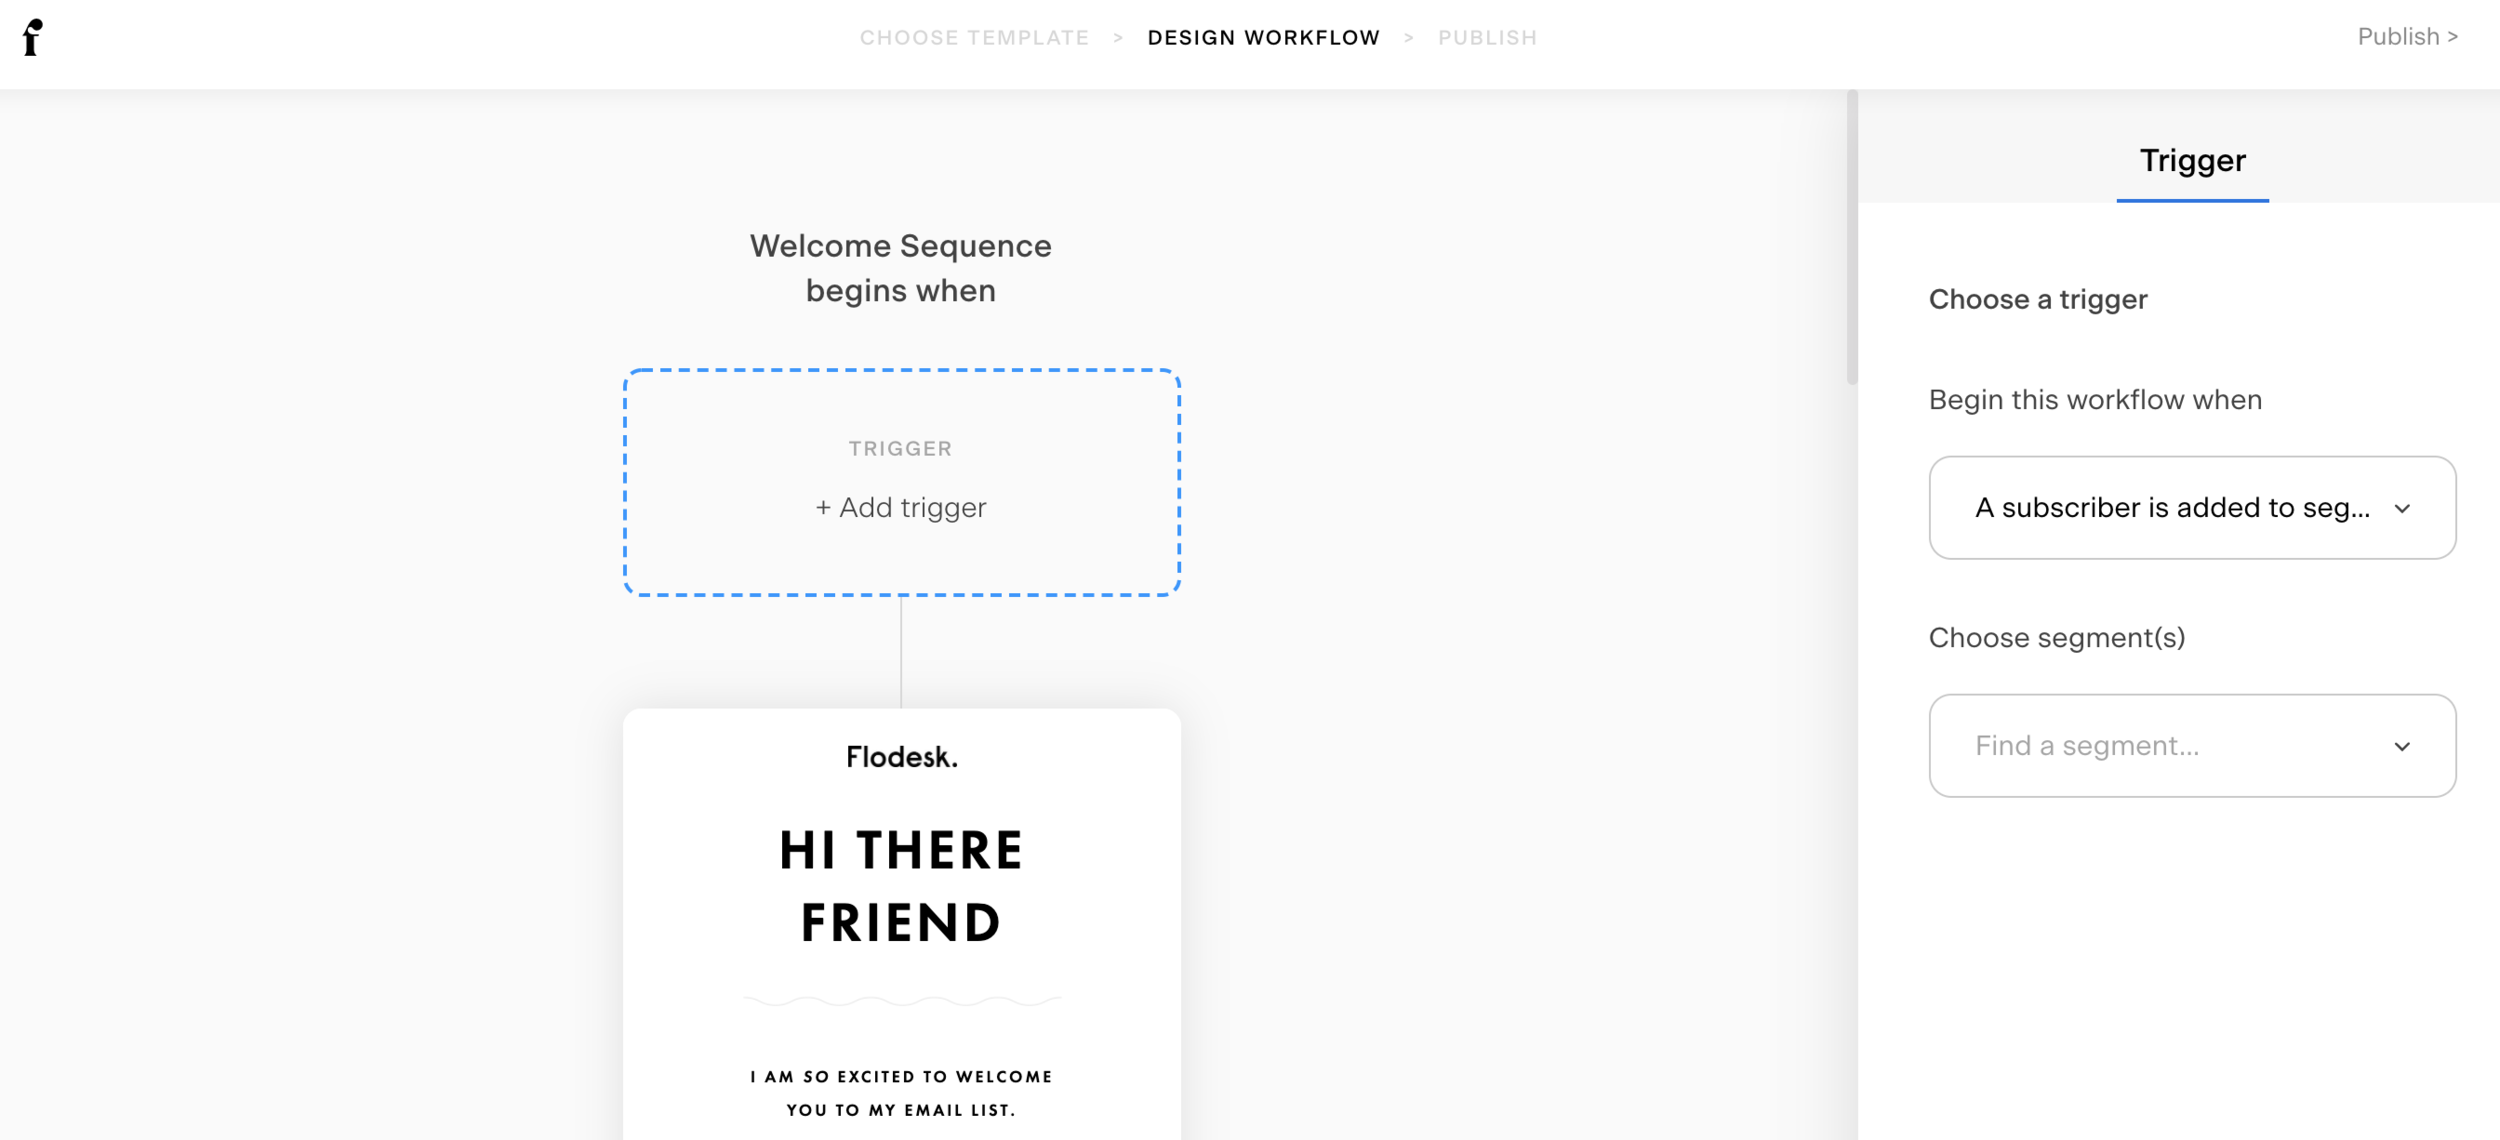
Choose a trigger: This is the “trigger” that tells your automation when to begin. For a welcome automation, it would be “Subscriber is added to segment” and you’d choose the appropriate segment your new subscribers are being added to.
Design email: You’ll then click on the first email and customize the design of this email. (If you’ve already designed your template in the previous step, just hover over the default email that appears in your automation, delete it and add the template you created.) Customize all the content as you’d like it to appear in this email, including the Sender (the email address and sender name this particular email will be coming from), Subject line, and Preview text.
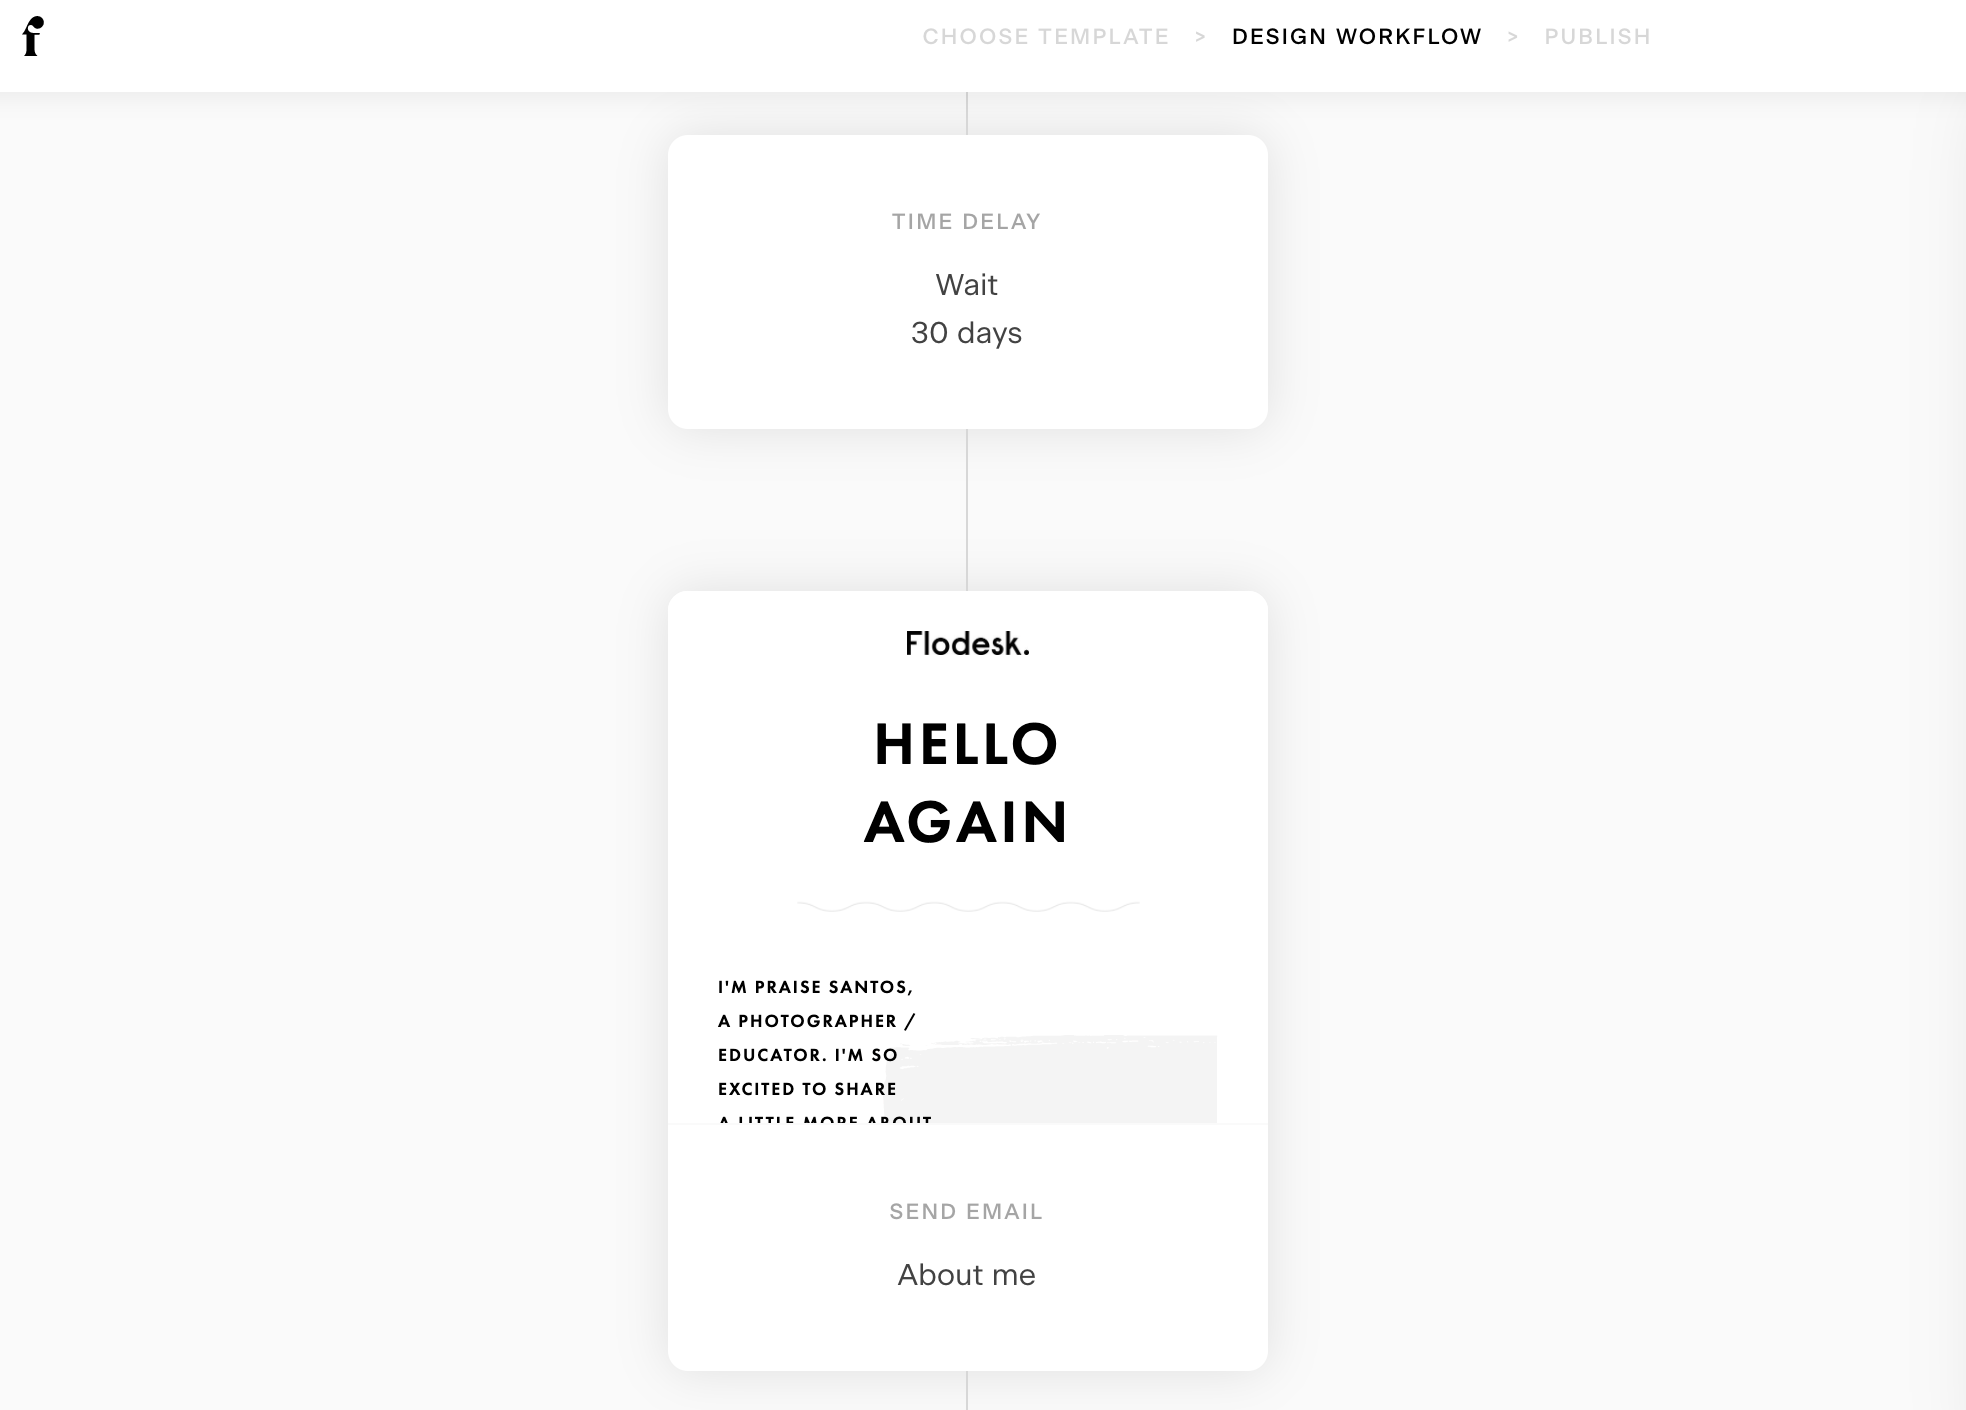
Add more emails to your workflow sequence: After your initial email, you can add a time delay (just click any point in your workflow sequence to add a new step, whether that’s a time delay, new email, or new condition) and then add a new email. Again, you’ll add in your branded template here and update the specific email content as needed.
Preview & test your emails: Be sure to send yourself a test email for each email in your sequence, and review it on both desktop and mobile to be sure it’s all appearing as it should!
5. Turn on your welcome automation
When your welcome automation emails are all designed, you’ll save your changes and start sending! Now, whenever a new subscriber opts in to your email list on your health coaching website, they’ll automatically receive your helpful, branded welcome series. Yay! 🎉
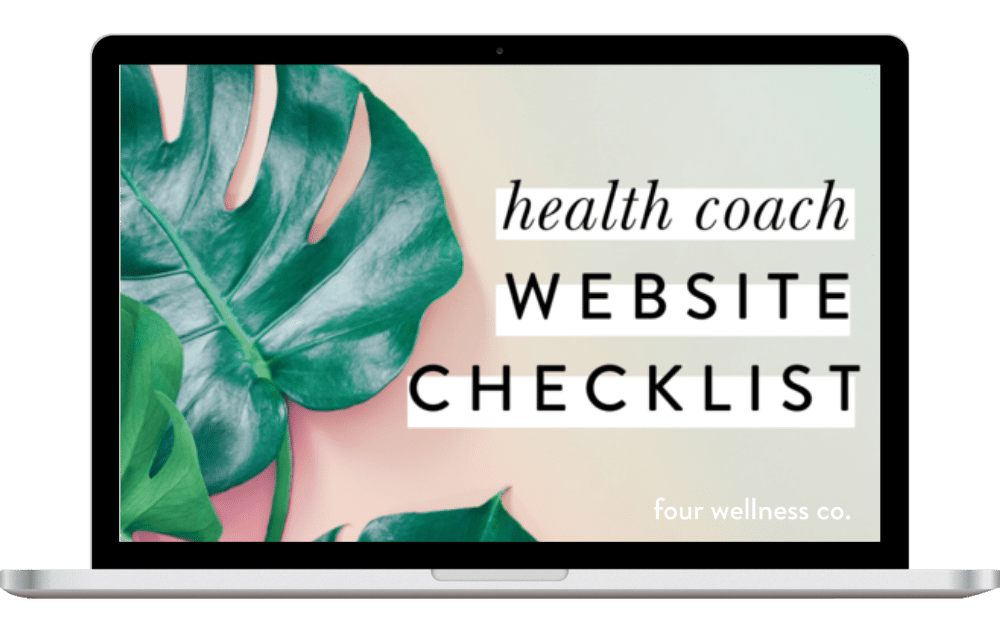
Perfect your health coaching website
Grab my free checklist for optimizing your wellness website!
It’s got all the big picture must-haves (& all the important little details!) to make your health coach website shine. ✨


